
I initially loaded my Synology DS413 Networked Attached Storage (NAS) device with (4) 1.5TB hard drives. They were drives that I’d pulled out of a server that I was decommissioning last year and I was having issues with other 1.5TB drives that I’d purchased about 4-5 years ago starting to go bad. I guess it was MTBF (mean time before failure) time for them and besides, I needed more head room for storage on the NAS.
I replaced the first (3) drives before it dawned on me that others might be a tad nervous about replacing drives in their NAS just as I was, so I took some screenshots of the process as I replaced the fourth and last drive. They are at the end of this post below. Each time I replaced a drive, the repairing and expanding timeframes took longer and longer. By the time I replaced my final drive, it took almost 2.5 days to finish repairing and expanding the mix. From start to finish I’d budget about a week if you were following suit.
I chose to use the Synology Hybrid RAID (SHR) for protecting my data on this unit. Mainly to get some experience with it and to get away from the requirement to match drive sizes like I would typically do in a RAID 5 or 6 scenario. Some things to note are that the amount of usable storage did not increase when I replaced the first 1.5TB drive with a 4TB drive. It wasn’t until I replaced the second HDD that the amount of usable storage increased. Then it increased again when I replaced drive 3 and again when I replaced drive 4.
Everything went relatively smooth, even though the process took quite a bit longer than I’d expected. As always, “back up your data” before attempting this. I was fortunate enough to have a Drobo 5D with enough storage capacity, so I used Robocopy to copy the files over to it before I started this process. Hopefully this reduces your angst a tad when you go about planning and implementing an upgrade to your Synology NAS unit.
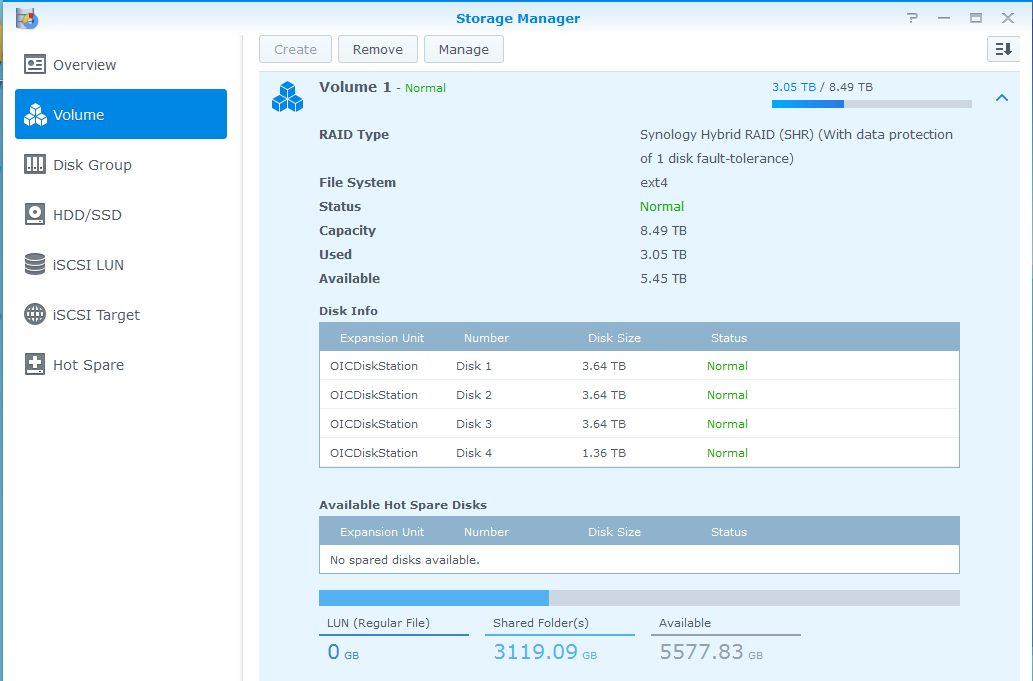
Before upgrading the last disk
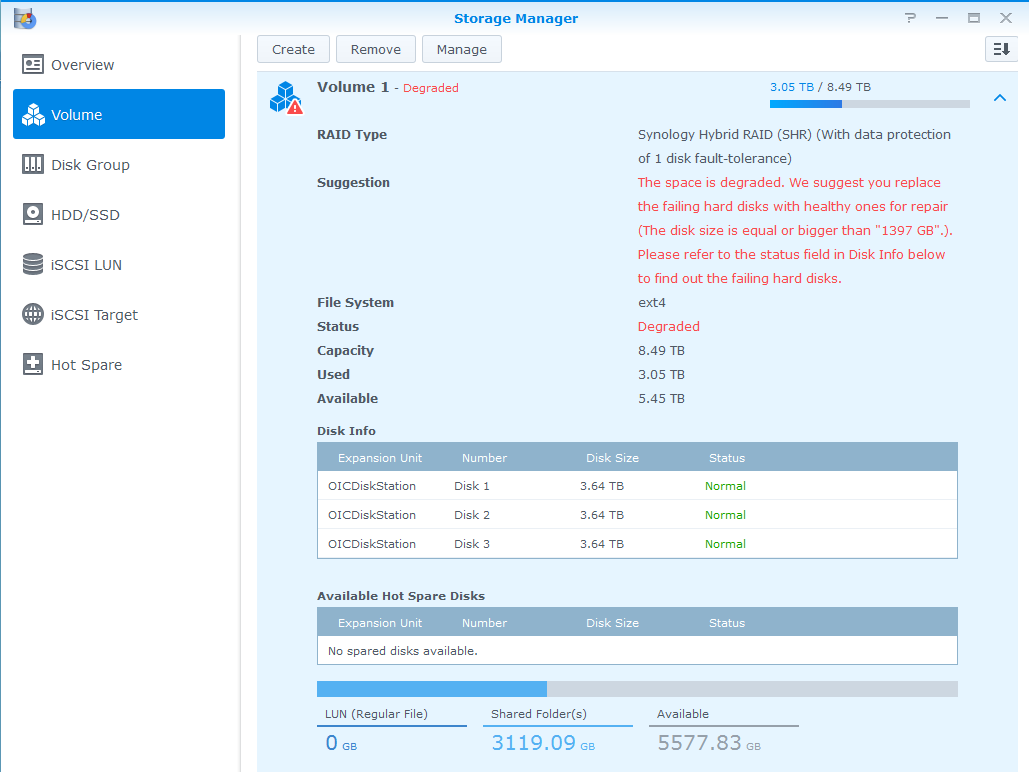
Pulled Disk 4 out of the unit
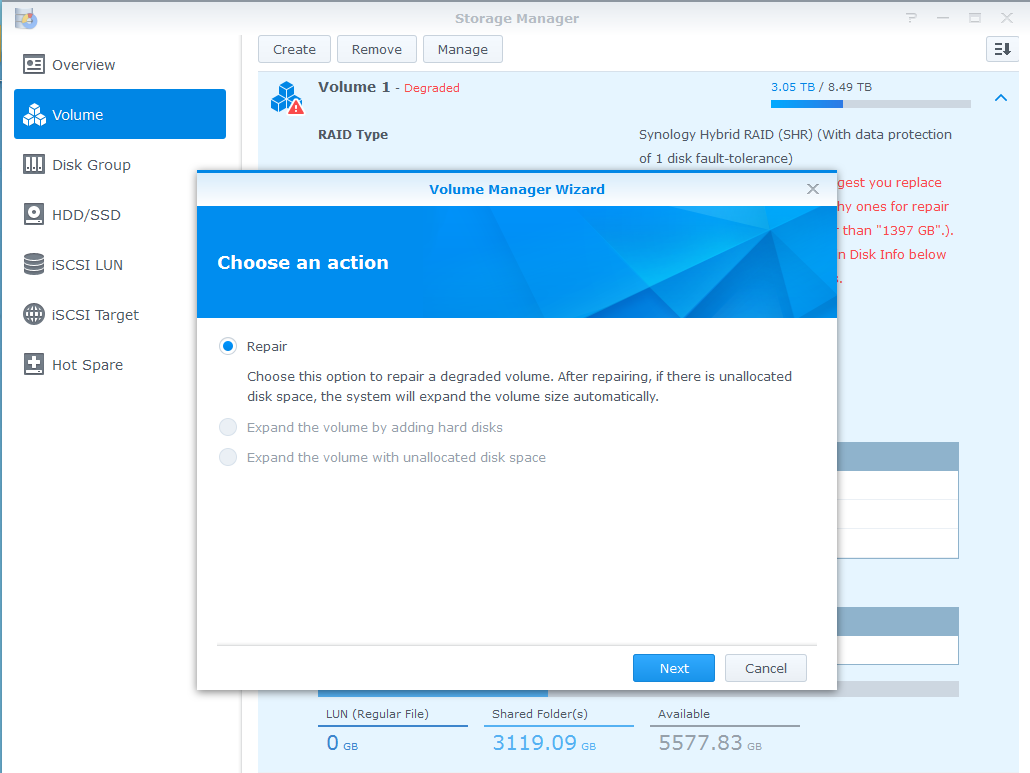
Clicked on the Manage button at the top

Choose Disks dialogue – new drive was pre-selected – clicked Next
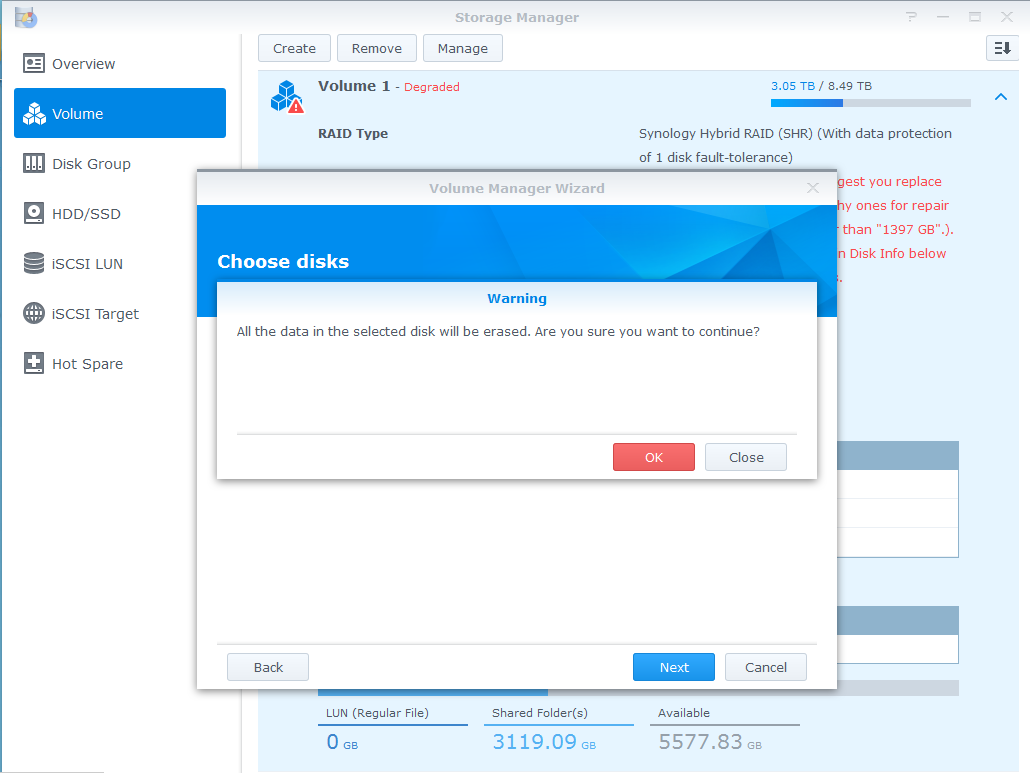
Accepted warning that all data on Disk 4 would be erased.
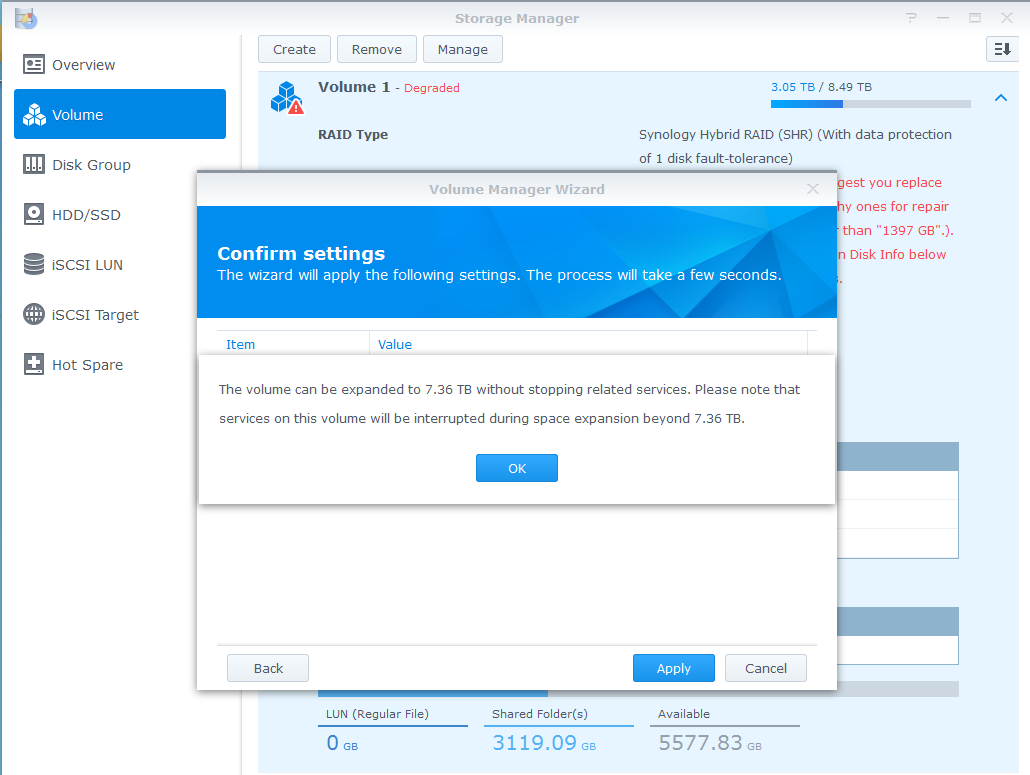
Confirmed warning that related services might be temporarily interrupted.
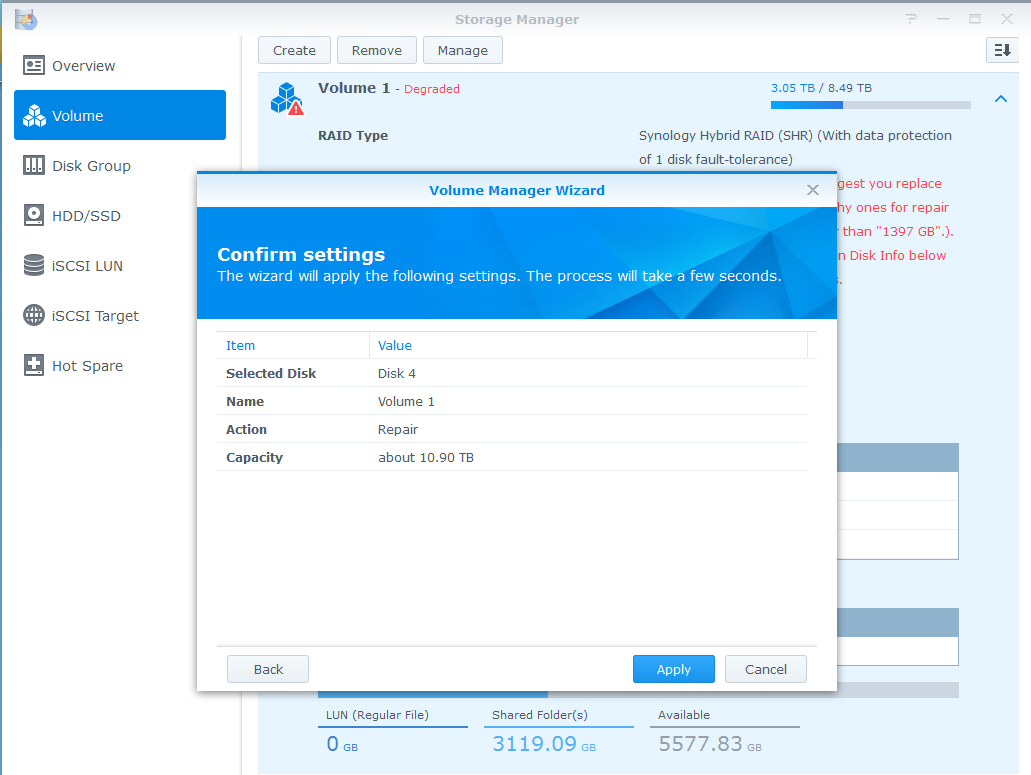
Finally clicked Apply to start the repair process with the new disk.

Initializing and repairing the disk.
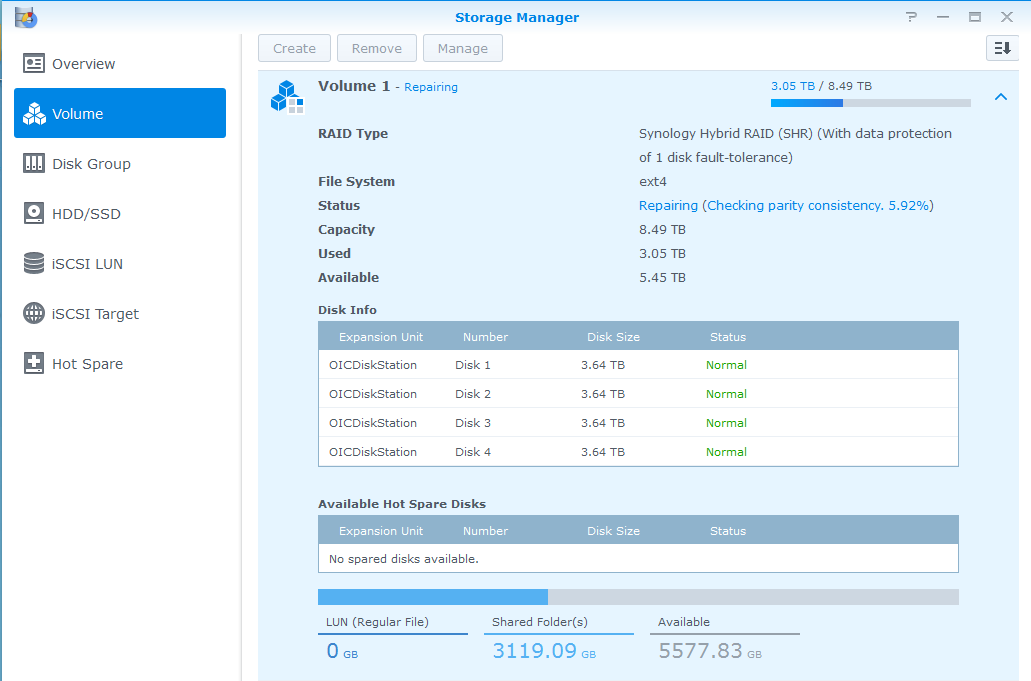
Part 1 – checking parity consistency

Part 2 – Expanding the file system
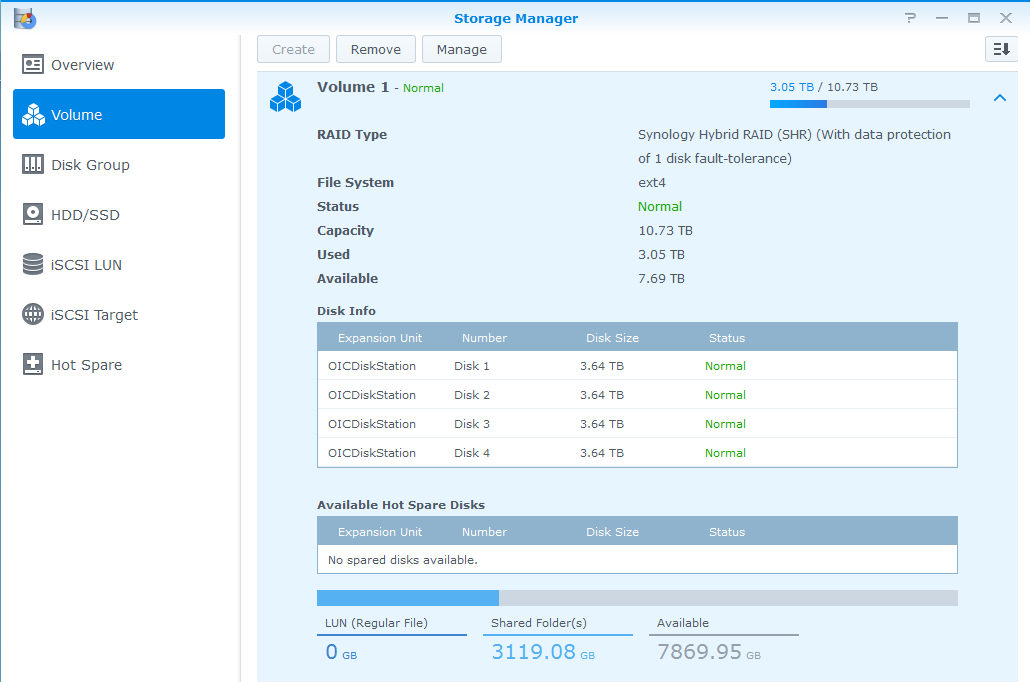
And we’re done – capacity increased to 10.73TB
